Kling 4.0 Image to Video
Choose the picture your clip opens on and the one it lands on. Give Kling a middle frame when a particular step, gesture or camera angle belongs in the journey.
See what four keyframes contribute to three seconds
This three-second park walk starts with four input pictures. Here they are in playback order, followed by the finished clip. The walker approaches along the paving stones, one hand near their forehead. The bench stays to the right and the path stays under their feet. The main difference between pictures is where the walker is in the stride. The two middle pictures give the stride a direction between the opening and closing poses.
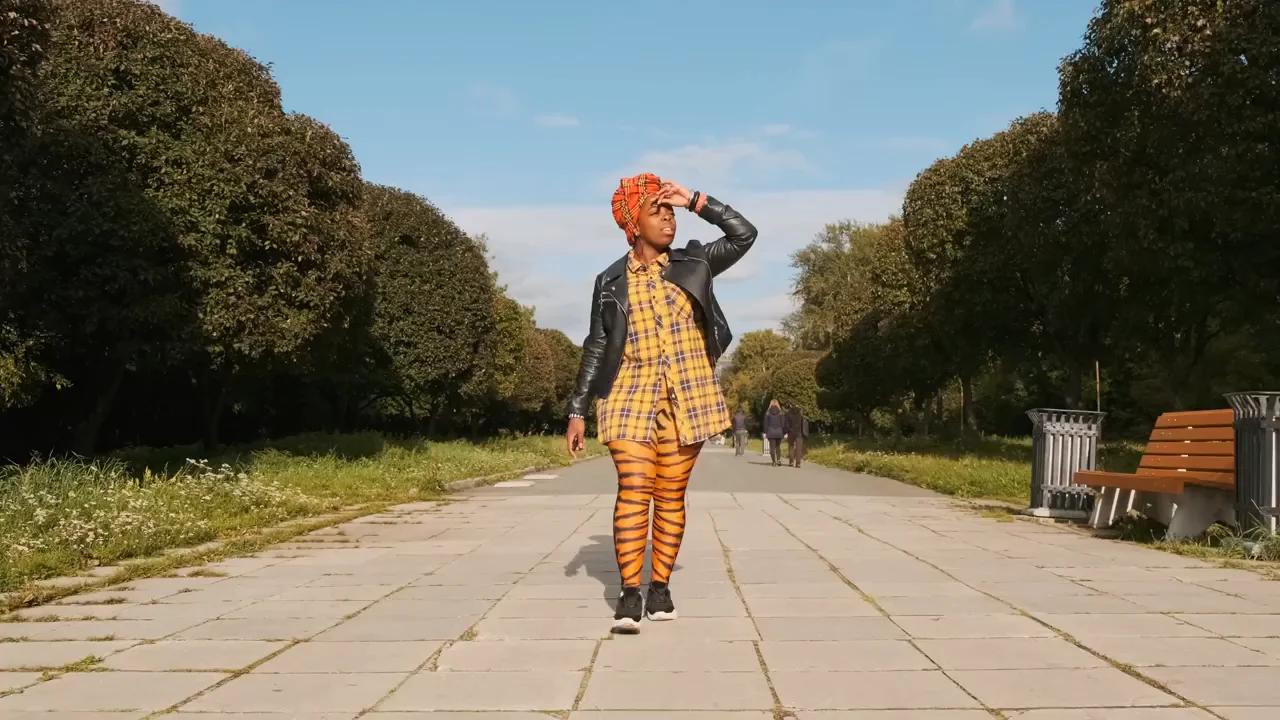
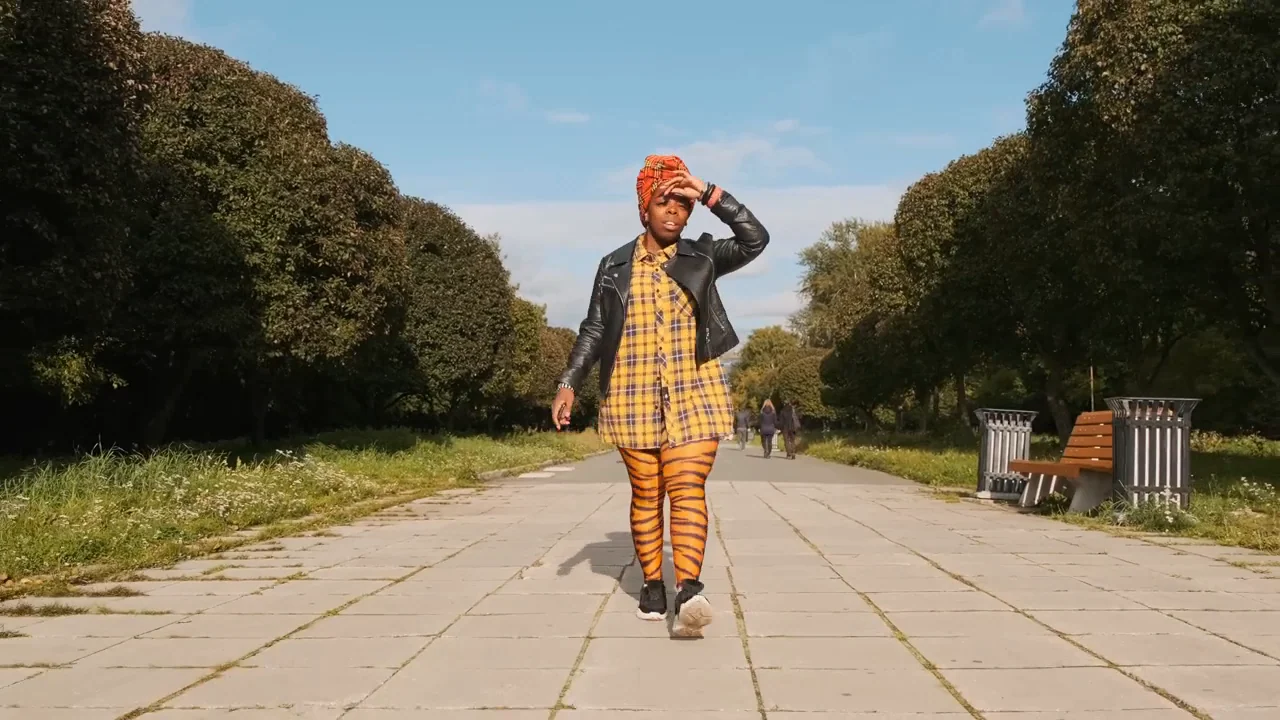
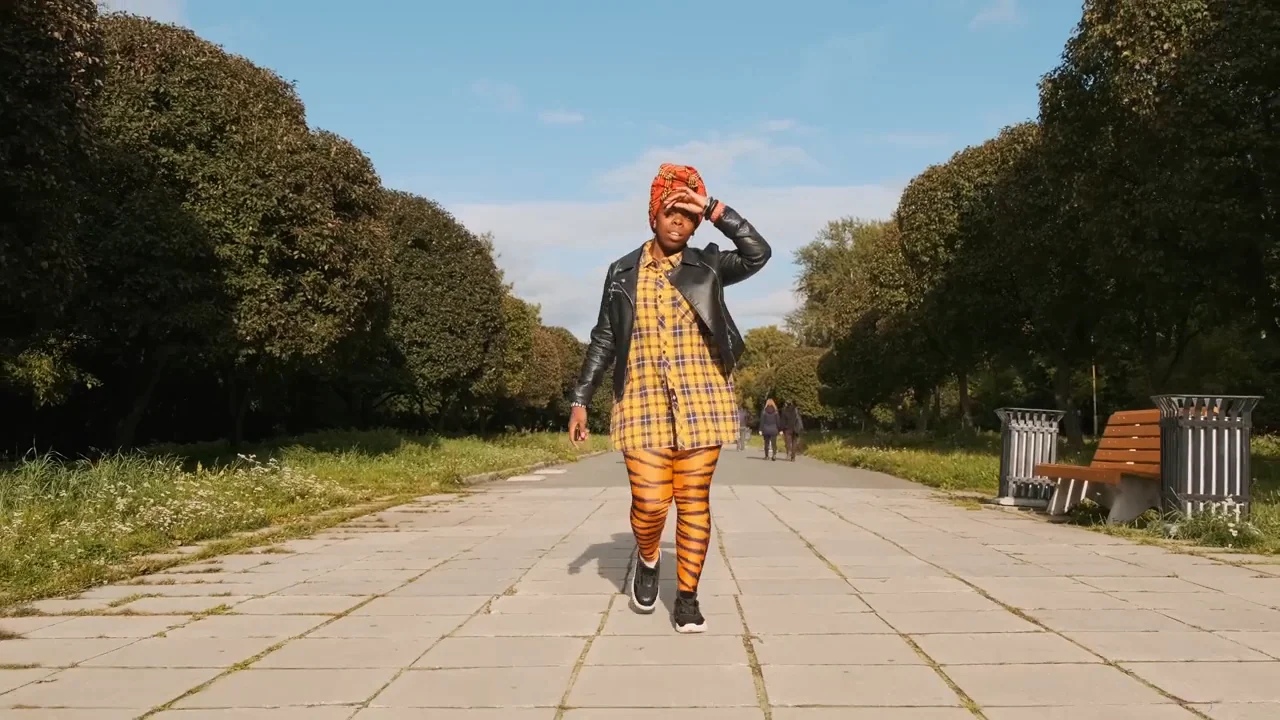
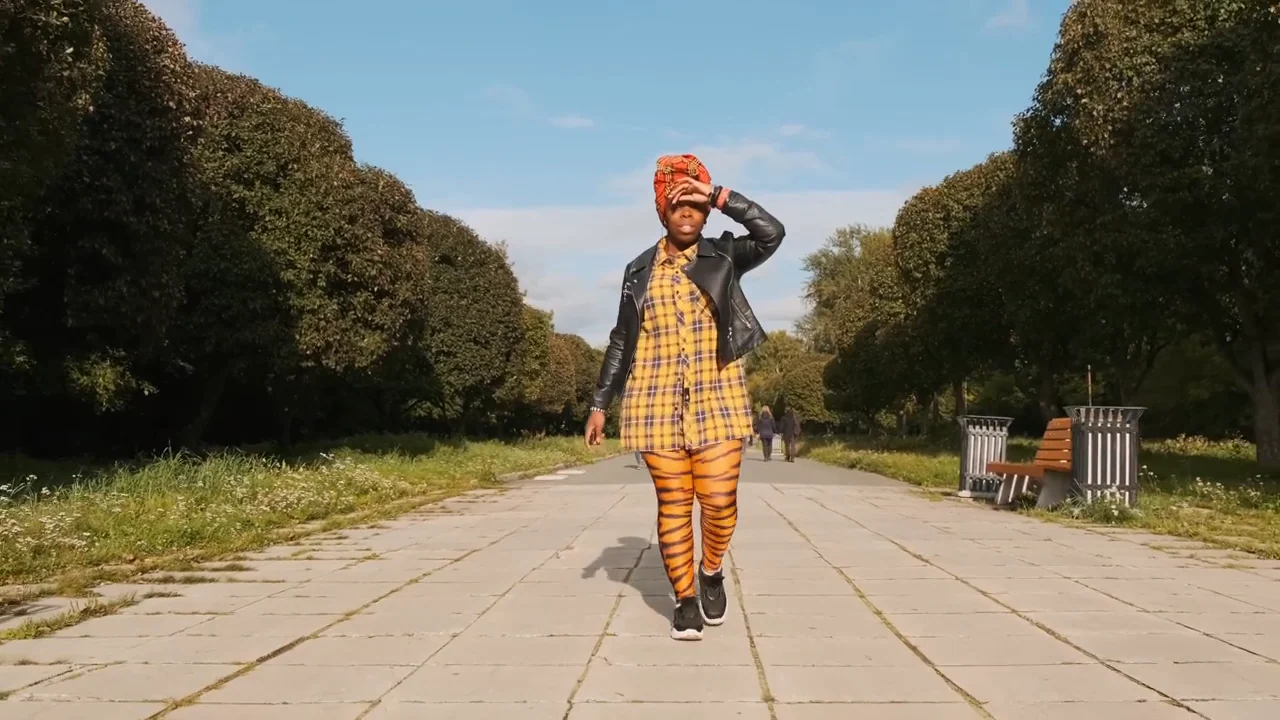
Watch the clip once while following the shoes. Watch it again while looking at the bench. The shoes tell you whether the stride reads as walking. The bench gives you a fixed point for judging how the view changes as the person approaches. You can use the same two checks on a shot of a dog crossing a kitchen or a cyclist passing a lamppost.
For your own first attempt, two pictures are enough. The four-picture example gives extra direction to the steps in between. If all you care about is reaching the final position, leave the middle open. Add a picture when you can name the moment that the two endpoints leave uncertain.
Set the first and last frame in LatiAI
- Open Kling 4.0 in the video generator. It opens in image-to-video mode with Frames selected.
- Upload the image you want the viewer to see first. Enable the end frame, then upload the picture the clip should finish on. Check their order before writing about the movement.
- Choose a duration that fits one pass through the action. For a short walk, start with enough time for a few steps. For a turn towards the camera, allow time for the person to settle in the final pose.
- Describe what travels through the frame and what the camera does. Select 720p for a first pass. Watch the transition through once before deciding whether it is ready for a 1080p version.
If the opening already defines the wardrobe, path and weather, there is little to gain from describing each of them again. Spend those words on the movement that the photographs leave open. For the park example, useful directions include a steady walking pace, the hand staying near the forehead, and the camera holding its position while the person approaches.
Pick endpoints that suggest a believable route
Before uploading, place your two photographs beside each other. Look at the horizon, the apparent size of the subject and which side of the body faces the camera. A subject twice as large in the second picture could have stepped forward, or the camera could have moved closer. Decide which you want. That decision changes the background motion even if both versions could end on a similar composition.
For a still-camera shot, find a landmark visible in both pictures. The corner of a shop, a railing or the edge of a bench can serve as an anchor. If that landmark jumps from one side of the subject to the other, your endpoints imply a camera move or a cut. Pick a different second picture if the intended shot is simply someone walking towards a stationary camera.
A change of viewpoint can also be the whole point. Imagine a ceramic bowl photographed from the side and from above. For a camera move over the rim, an intermediate photograph looking diagonally into the bowl tells Kling which side of the object the camera should pass. A second photograph taken from almost the same overhead angle gives much less guidance.
Use a middle frame to resolve one decision
Take a clip that starts with a closed sketchbook and ends on a finished drawing. Those images leave several actions open. The cover could lift towards the camera, swing away from it, or the scene could cut directly to the page. Add a photograph of fingers holding the cover half open if that physical gesture matters. Then describe how the cover continues down and the page comes into view.
Place multiple middle frames in the order of the action. A half-open cover belongs before the hand resting beside the finished drawing. If the animation appears to reverse briefly, check that order first. For a three-second clip, four total images fill the frame allowance; at five seconds you can use up to six. There is room for up to ten on longer clips. Treat the allowance as space for the moments you actually need.
Frames or Reference for image to video?
Choose Frames for a specific opening view, gesture or ending. Choose Reference for an image that defines the person, the style or an object while leaving its placement in the shot open. A close-up of a distinctive coat makes a useful appearance reference for a distant walker. Put that close-up in the first-frame slot and you have also chosen to open the film on the fabric.
For a simple still brought to life with sound, Kling 2.6 remains a useful starting point. Choose 4.0 when the edit depends on an approved middle view or when you need a longer clip. Compared with Kling 3.0’s Multi Shot approach, 4.0 frame guidance is especially helpful when you already have the images an illustrator or client signed off on. A written shot list is often easier when the only approved material is the script.
Read the transition before you export
Pause just before the middle pose and play through it at normal speed. A hand can reach the correct spot in a still while taking an odd route to get there. If it jumps, try a clearer intermediate pose or simplify what the rest of the body does during that moment. If the person moves well but the camera lunges, revise the camera instruction and keep the frames in place.
Finally, check the last few frames where the clip will meet the next shot. Look for a foot landing, a lid closing or a glance settling. Giving that action a readable finish makes the clip much easier to cut into a longer sequence.
Frequently Asked Questions
Make the move between your two pictures
Bring your first and last frames into LatiAI and describe the action that connects them.
Animate your frames with Kling 4.0